
One of the most incredible things about our community is the creative ways you show your support for The Charity. We’re constantly amazed by the creativity on display – whether you’re a headline-making fundraiser, an awareness-raising campaigner or a ground-breaking researcher.
We want to help you make as much noise as possible. That’s why we’re committed to giving everyone in our community the tools they need to become voices for change.
That’s why during Brain Tumour Awareness Month 2023, we’re launching our new free design service – Create.
What is Create?
Create is a browser-based design tool. This means that you don’t need to download any software or pay anything to use it. You can simply visit the website and start creating new designs right from your browser.
Inside Create, you’ll find over 25 fully-editable templates. These can be used to design everything from social media posts to leaflets, flyers and invitations. This is great because your designs will always be the perfect size for how you want to use them.
You’ll also find over 240 design assets that have been created by The Charity’s Design team. These range from photos and illustrations to logos and design devices like our iconic branded exclamation point.
Another great thing about Create is that all our branded fonts are there! So, any time you want to add text to your design, it’ll be in the same eye-catching fonts we use.
What are the benefits of using Create?
The biggest benefit of using Create is that it’s really easy to use. You can easily create beautiful designs using official The Brain Tumour Charity assets without needing access to expensive software or experience working as a designer. It gives everyone in our community the tools they need to become voices for change.
Another benefit is that it gives you access to the same design assets we use. Now, if you’re creating a poster to promote your fundraising event, people will know straight away that you’re raising money to support people affected by brain tumours.
In short, Create allows you to play around, get creative and have fun. All while getting across exactly what you need to say!
How to use Create
Choosing the right template
To start using Create, all you need to do is visit the Create website by clicking here.
This will take you to a list of the different templates that you can use. You’ll find everything from templates that are perfectly sized for specific social media posts to templates that help you design the perfect poster.
You can use the filters above and to the left of the list to help you find the template that’s right for you. Once you’ve found the right template, you just need to click it and you’ll be asked to name your design. Just type in the name, hit “Create Design” and you’re ready to start making your masterpiece.
Top tip – When you’ve finished creating your design, you’ll be able to save it to the device you’re using. Giving your design a memorable name will help you find it again on your device when you’re ready to use it.
Understanding layers in Create
Every design in Create is made up of a series of different layers that make up the final design. A layer can be anything from a photograph or illustration to some text, a logo or a coloured background.
Some templates have many layers – these are perfect for more complicated designs. But, some templates have as few as just one layer – perfect for when you need to resize a photo to fit a social media post. To remove a layer from your design, you’ll need to select the layer and drag it out of the design space.
There are two types of layer in Create – image layers and text layers. Every image layer can be resized, cropped or moved around the design. You can increase the size and colour of the font in every text layer, as well as move the text box. You can also add certain formatting to text – bold, italics or underline.
Every layer in a design is numbered and the lower the number the further in the background it is. So, if you have a design with two layers, Layer 1 would be the background and Layer 2 would appear in front of it.
By making Layer 1 a photo that’s the full size of the design and using a smaller image for Layer 2, you could add our logo to a photograph.
Similarly, by choosing a template that has an image for Layer 1 and text for Layer 2, you could add some simple text on top of a photo.
Top tip – when adding text to a design, always recommend add a layer of solid colour underneath the text. This makes the text more readable as adding text directly on top of a photo can be difficult to read.
If you learn better by seeing examples, click the images below to go through this information again alongside examples.


Photos
Every design in Create is made up of a series of different layers that build up into the final design. A layer can be anything from a photograph or illustration to some text, a logo or an icon. Some templates have many layers – these are perfect for more complicated designs. However, some templates might just be a single layer – perfect for when you need to resize a photo to fit a social media post.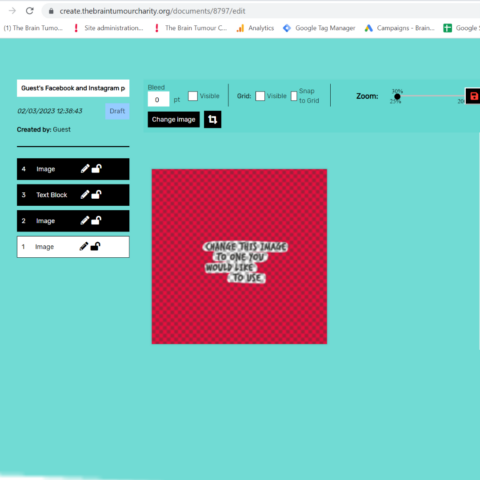
Selecting a layer
You can edit a layer, by selecting it from the list of layers to the left of the design. To remove a layer from your design, you’ll need to select the layer and drag it out of the design space.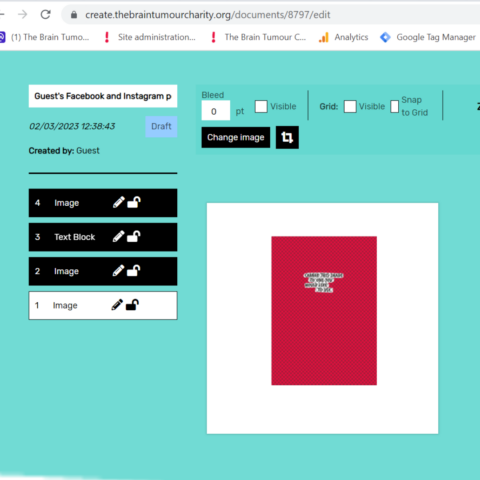
Editing an image layer
Every image layer can be resized, cropped or moved around the design.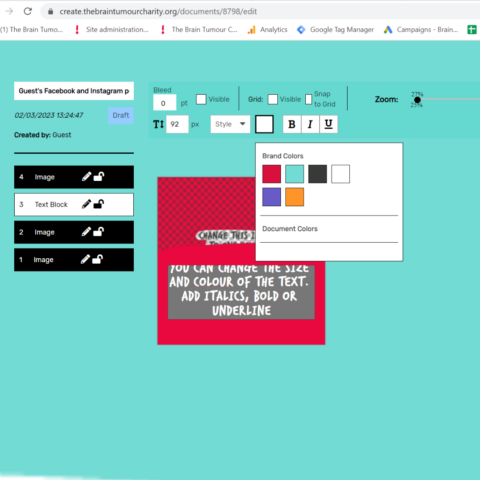
Editing text layers
You can increase the size and colour of the font in every text layer. You can also add certain formatting to text – bold, italics or underline.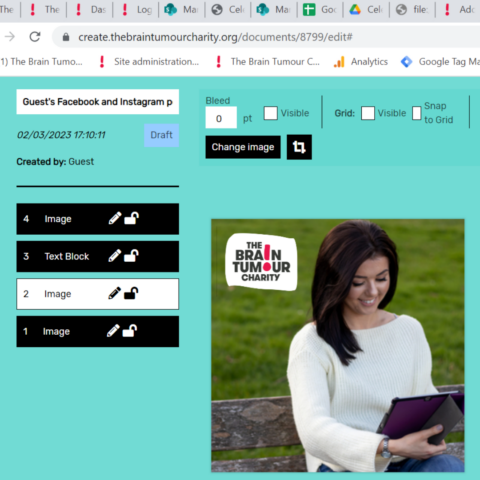
Using more than one layer
Every layer in a design is numbered and the lower the number the further in the background it is. So, if you have a design with two layers, Layer 1 would be the background and Layer 2 would appear in front of it. By making Layer 1 a photo that’s the full size of the design and using a smaller image for Layer 2, you could add our logo to a photograph.
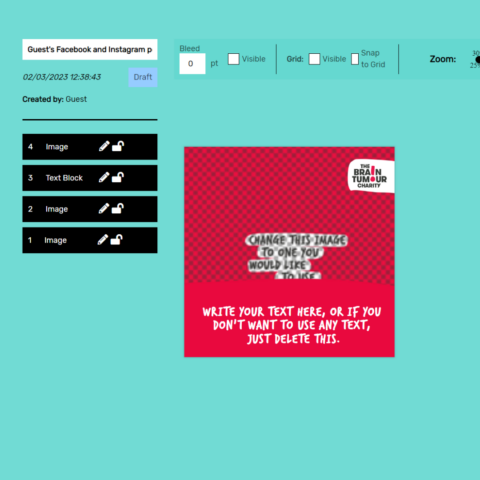
Adding text
Similarly, by choosing a template that has a photo for Layer 1, a coloured background for Layer 2, text for Layer 3 and a logo as Layer 4, you could add some simple text on top of a photo like this example. We always recommend only using text when it’s on top of a plain background like in this example because having text directly over a photo can make the text hard to read.Using the image library
In Create you’ll find over 240 images, illustrations and design assets for you to use. Now you’ll always have access to high-quality images for your designs without having to worry about if you have permission to use the image – we’ve already sorted all that out.
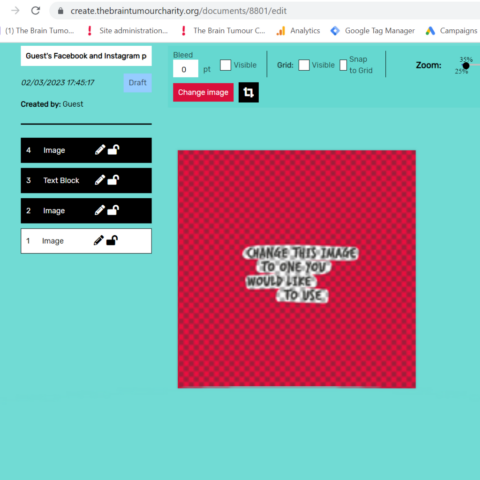
Once you’ve selected an image layer, a “Change image” button will appear above the design. Clicking this will open up the image library in Create.
Now you’ll be able to look through all of the images available in the image library. You’ll immediately see four rows of images to pick from and underneath you’ll be able to navigate to different sets of images using the numbered buttons.
To add an image to your design, you just need to click the image you want to use. This will take you back to your design, where you’ll be able to crop, resize and move the image around.
If you already have some idea of what kind of image you’re looking for, there are lots of different ways to filter the images you’re shown in the image library.
Top tip – as well as using the images in the image library, you can also add your own images to your designs. These don’t get uploaded to the image library, so you don’t need to worry about other people using personal images you’ve added to your designs.
Opening the image library
Once you’ve selected an image layer, a “Change image” button will appear above the design. Clicking this will open up the image library in Create.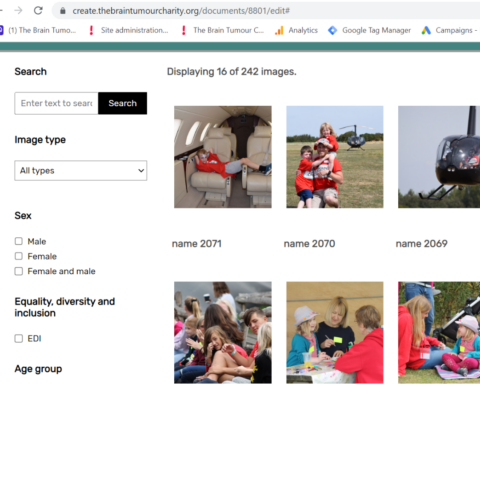
Using the image library
Now you’ll be able to look through all of the images available in the image library. You’ll immediately see four rows of images to pick from. Underneath these images you’ll be able to navigate to different sets of images using the numbered buttons. To add an image to your design, you just need to click the image you want to use. This will take you back to your design, where you’ll be able to crop, resize and move the image around.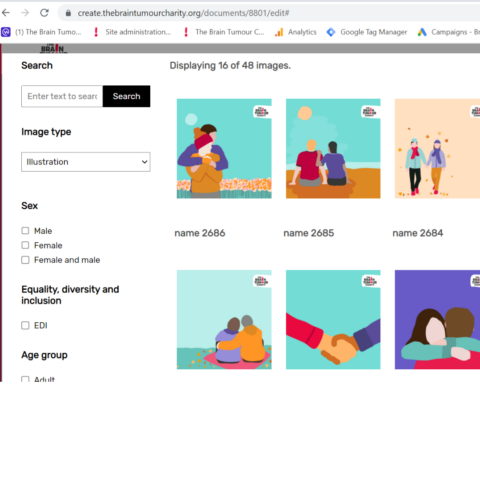
Browsing the image library
If you already have some idea of what kind of image you’re looking for, there are lots of different ways to filter the images you’re shown in the image library There’s a drop-down field that let’s you filter by image type. You can choose from photo, illustration, icon, logo or other. You’ll also find a wide range of checkboxes to help you find the image you want. These range from the sex and age of the people in the image to the type of activity happening in the image. And you can use as many of these as you need to at the same time.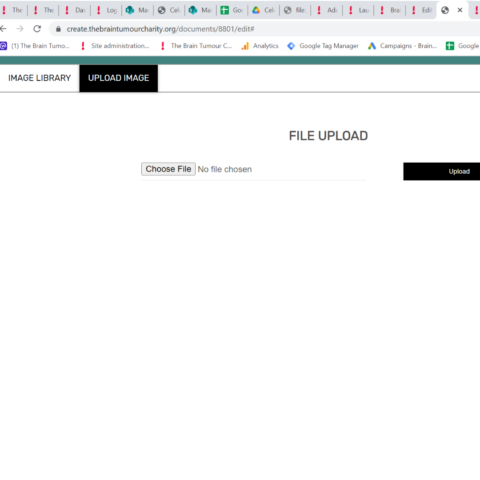
Adding your own images
When you open the image library, you should also see a tab that says “Upload image”. This is how you can add your own images to your designs. Just hit the “Choose File” button and it’ll open your devices file directory. You just need to find the image that you want to add to your design. Any personal images you add to your design will not be added to the image library in Create. This means that you can use personal images without worrying that other people will have access to them.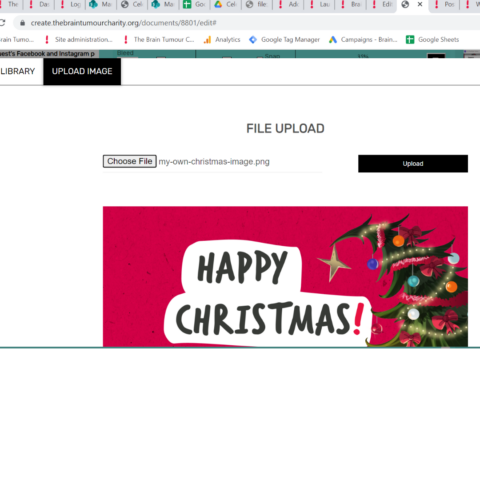
Selecting an image
The file directory will allow you to browse the files on your device and select the image that you want to use in your design. It should look something like this when you’ve selected the image you want to add to your design in Create. Just hit upload when you’ve selected the image you need and you’ll be taken back to your design.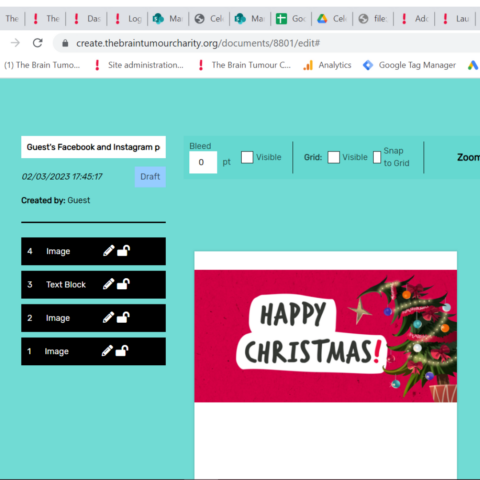
Using your own images
Image layers that feature your personal images function the same as image layers that feature images from the image library. You can crop, resize and move the image around to create your perfect design.
Finishing and downloading your design
You can zoom into your design to make sure everything is placed properly. To the right-hand side of the the design area, you’ll see another version of your design. This shows how the design will look once it’s been downloaded. This is useful when you’re working on layers that are further in the background as you can quickly see what the finished design will look like.
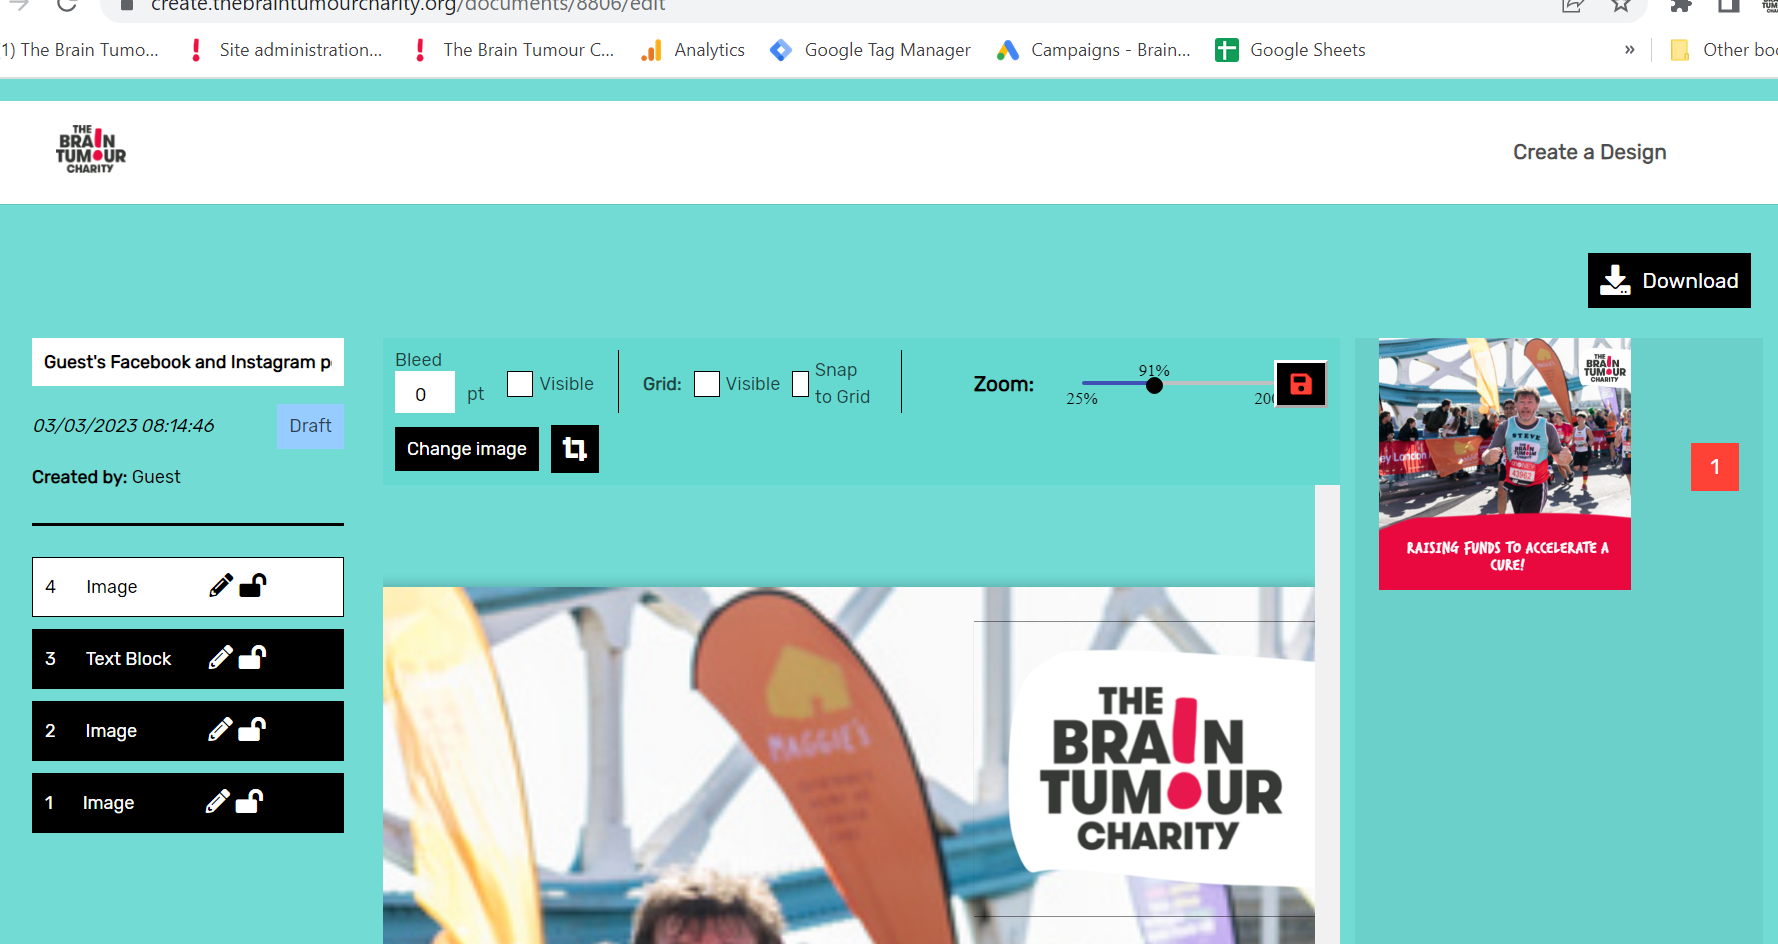
Once you’re happy with your new design, it’s super easy to download it in the format you need it but first you need to hit the save button that’s next to the zoom slider. This is very important as you’ll only download the last version of your design that you saved.
Then you just need to hit the “Download” button that’s to the top-right of your design. When you click this you’ll be asked what format you need – PDF, PNG or JPEG. You’ll also be asked whether you’re using it in print or digital.
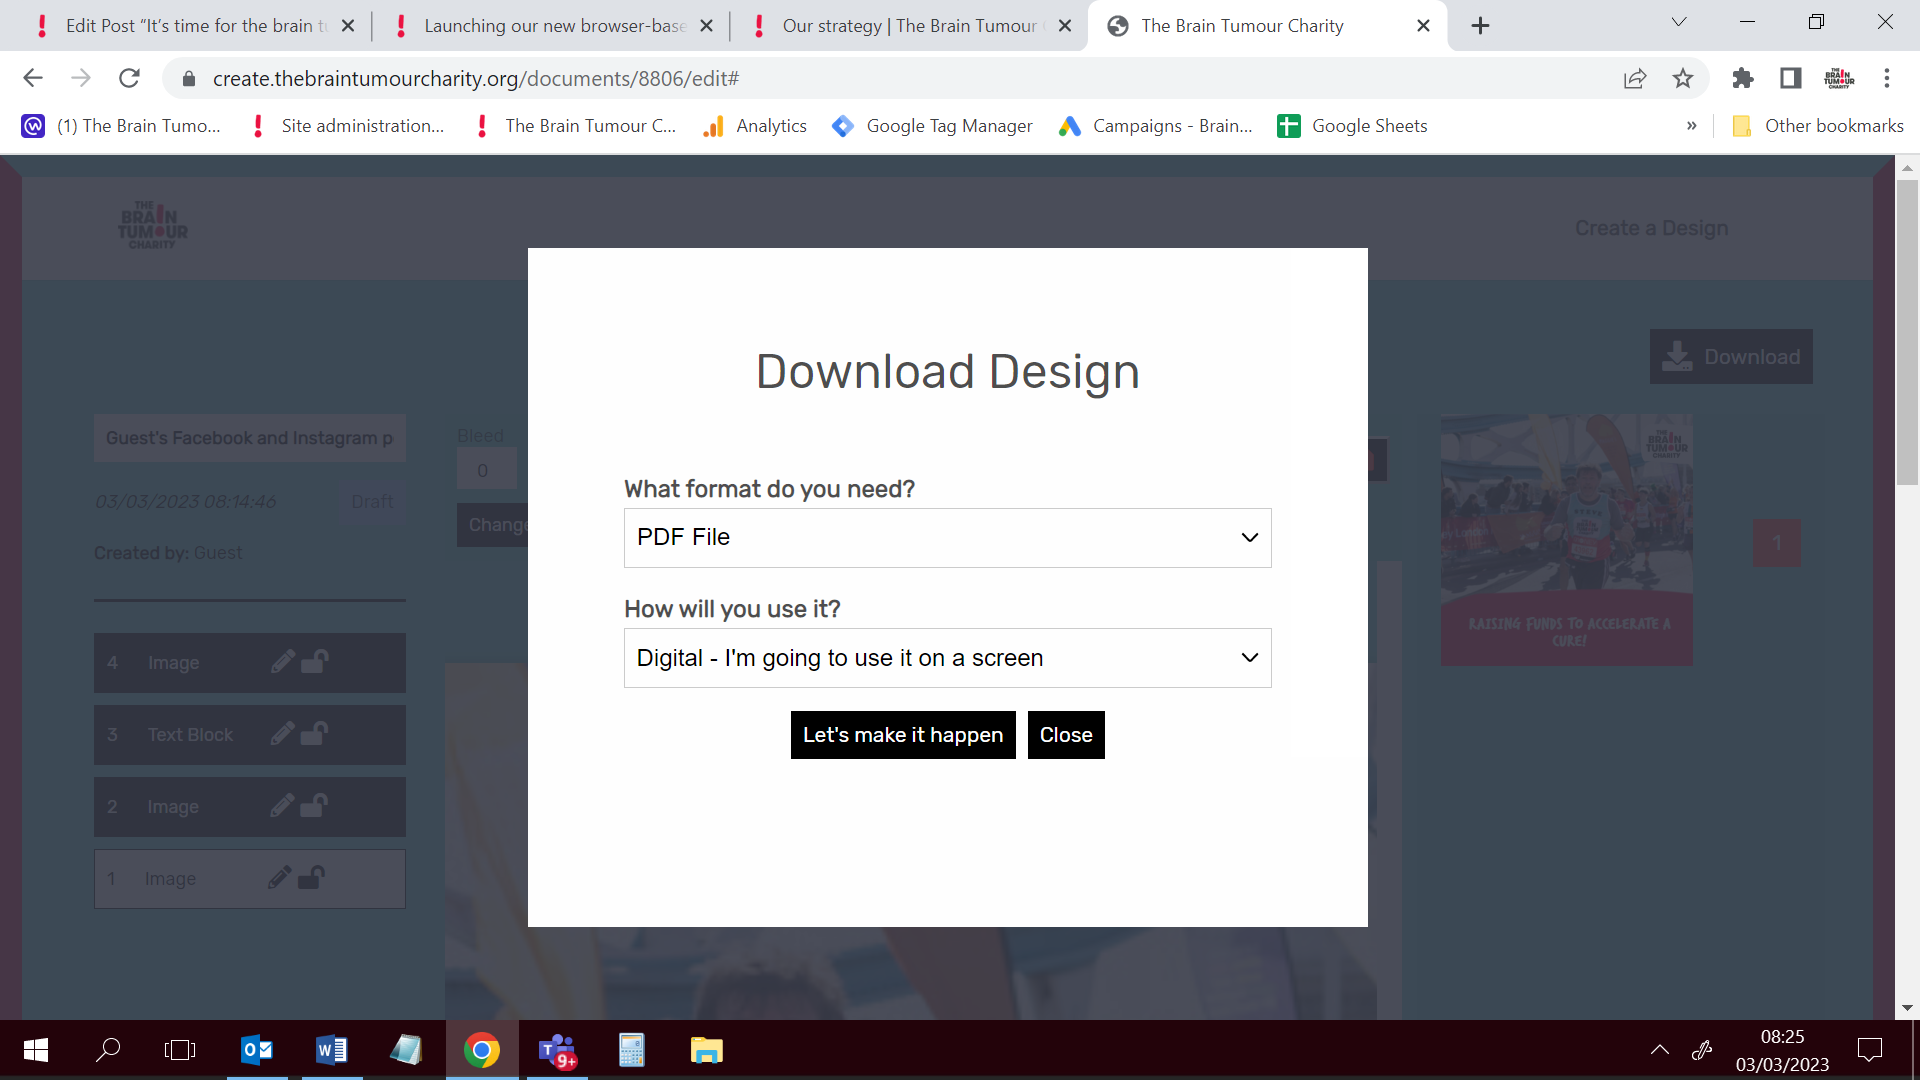
Once you’ve selected the right options for you, just hit “Let’s make it happen” to download your image. You’ll be able to find your design saved in your downloads folder after it’s finished downloading.
Top tip – your design will be saved under the same file name as you choose when you first started creating your design.
Using your designs
We’d love to see you all getting creative throughout BTAM and sharing your incredible designs with us on social media. Make sure you’re tagging us in your posts and use #createtbtc to get them trending.